Sanctum of Rebirth Hard Mode - Solo Necromancy 
Introduction
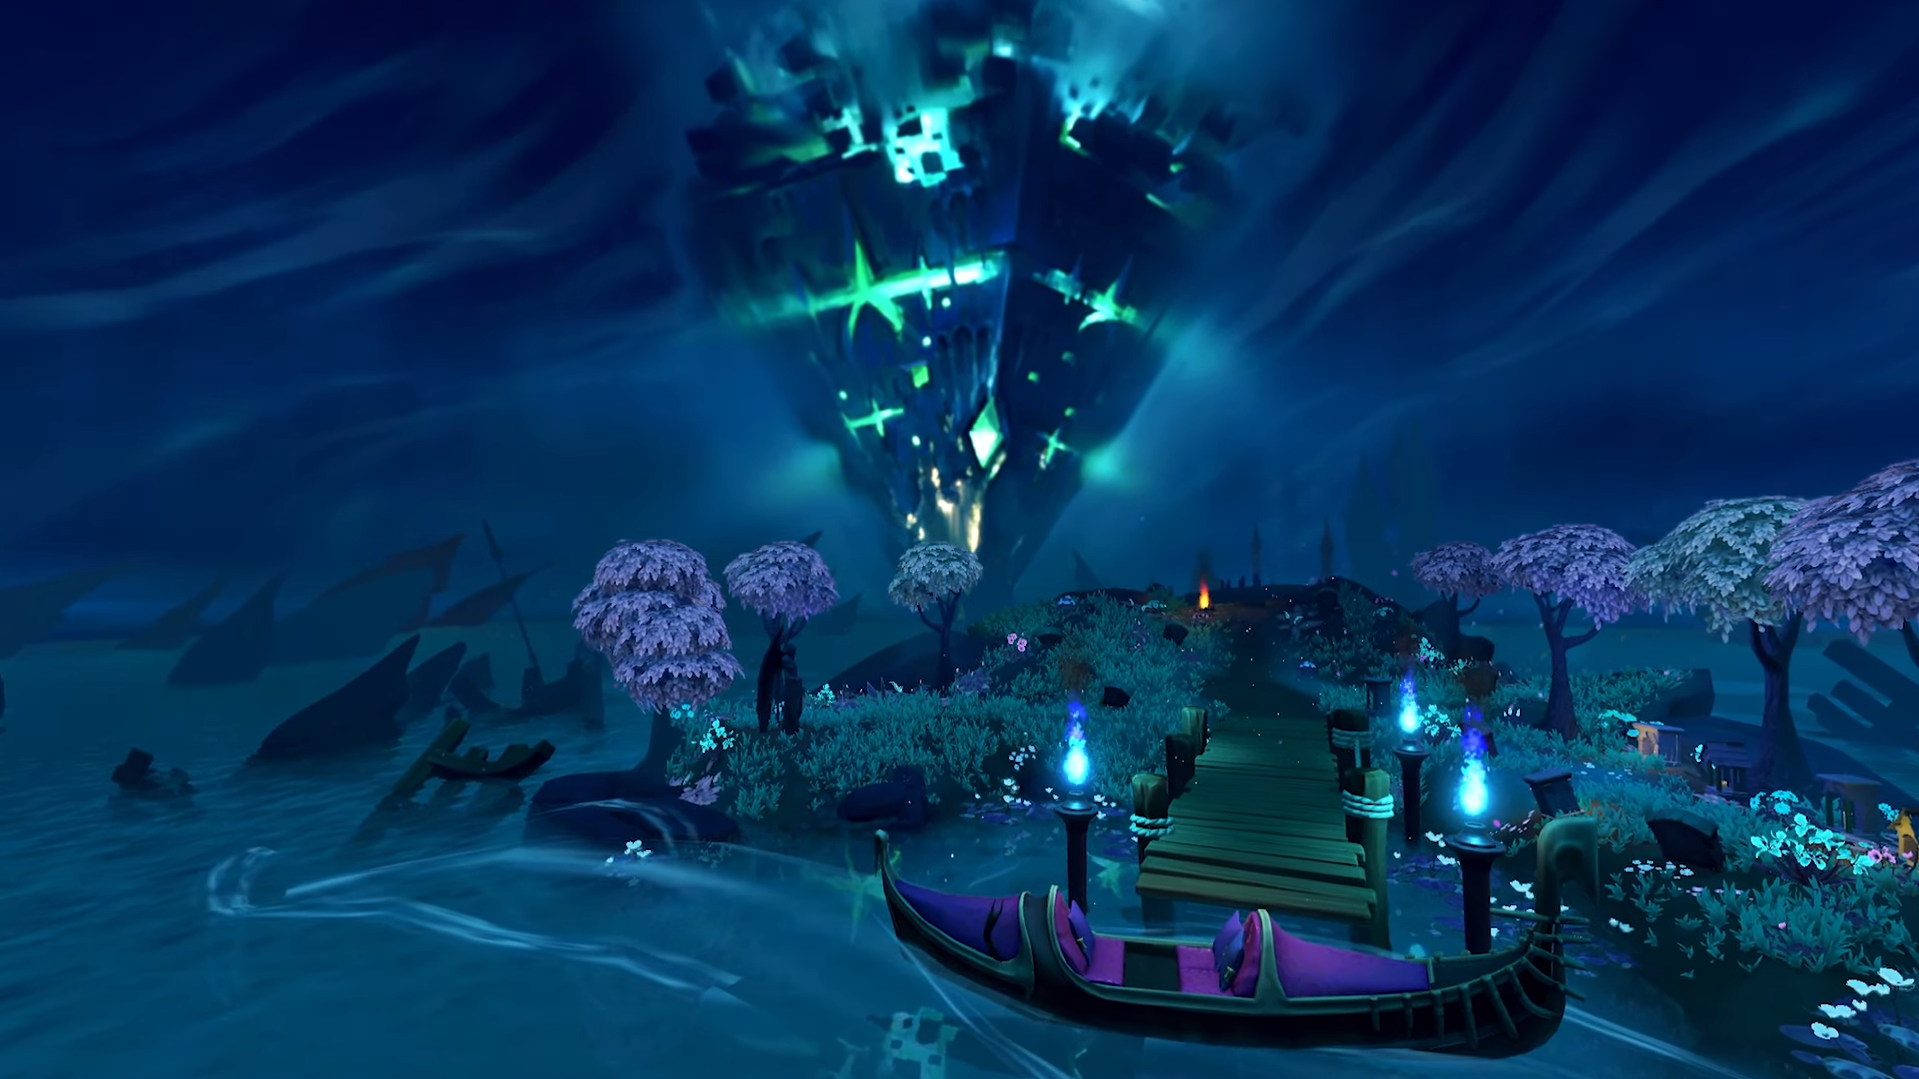
The Sanctum of Rebirth is a boss dungeon set in the Underworld. Formerly owned by Amascut, three soul devourer bosses can be fought after completion of the Soul Searching quest.
⬥ This is an advanced guide and assumes a deep understanding of the boss's rotations and mechanics for the Hard Mode version of the Sanctum of Rebirth, found in #Sanctum HM Mechanics.
⬥ Only in Hard Mode is the Shard of Genesis Essence dropped, which upgrades Tier 95 weapons to Tier 100.
Note: the rotations in this guide are still being optimised, so you may need to improvise.
Presets and Relics
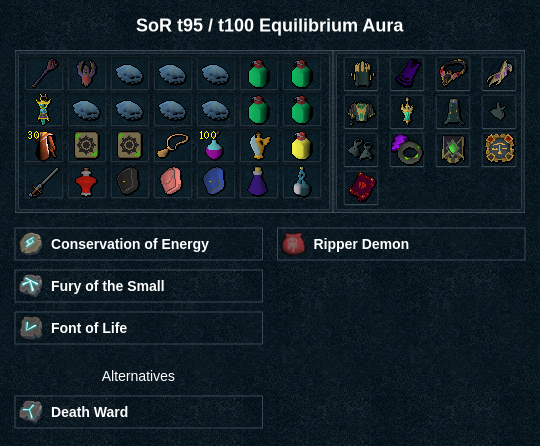
⬥ Necromancy t95 / t100 preset
⬥  /
/  /
/  are not needed for the t95 rotations.
Vermyx, Brood Mother
Vermyx's Attack Rotation
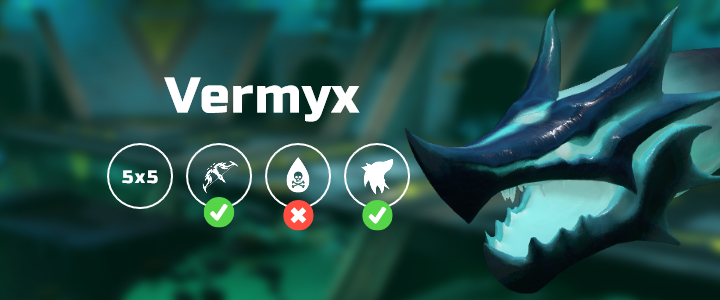
⬥ Vermyx uses both Melee  and Ranged
  auto-attacks, while Coilspawns only attack with Ranged
• Auto-attacks cause 2% armour break per successful hit.
⬥ Every auto-attack Vermyx's adrenaline bar fills by 50%, starting a new mechanic when full.
Phase 1
3 autos → Moonstone Shards → 2 autos → Wyrmfire + 2 autos → repeat
Phase 2
3 autos → Moonstone shards → 2 autos → Soul Bomb → 1 auto + bomb hit (in that order) → 1 auto → Wyrmfire → 8 autos + Scarab Healer → Moonstone Shards
Phase 3
3 autos → Scarab Healer (+ autos continue) → 3 autos → Moonstone shards → 2 autos → Soul Bomb → 1 auto + bomb hit (in that order) → 1 auto → Wyrmfire → 7 autos + Scarab Healer → Wyrmfire
T95/100 Rotation
⬥ This rotation seeks to consistently hit around ~1:30 kill times.
⬥ Sometimes you may not be able to build off of Coilspawns due to the limited range of Necromancy
⬥ You can flank  by standing right next to Vermyx's head.
⬥ Stay in the center after  to not get attacked by Coilspawns from multiple sides, may stand on the green lines during phases 2 and 3 for a similar result.
Pre-build
 →
→  →
→  →
→  →
→  →
→ 
Note: with T100, use before
Phase 1
+  →
→  →
→  →
→  →
→ 
 → →
→ → 
 →
→  → go to Coilspawn
→  → → → →
  +
+  → → → → → go to Vermyx
Note: after position yourself so that both western Coilspawns have a chance to hit you.
Phase 2
→ →  → →
→ →  → → → → go to Coilspawn
→ → → → → → → → go to Vermyx
Note: abilities after depend on  and Vermyx's LP, depending on damage and you can skip / /
Phase 3
→ → → → → → → → →  → → → improv
Kezalam, the Wanderer
Kezalam's Attack Rotation
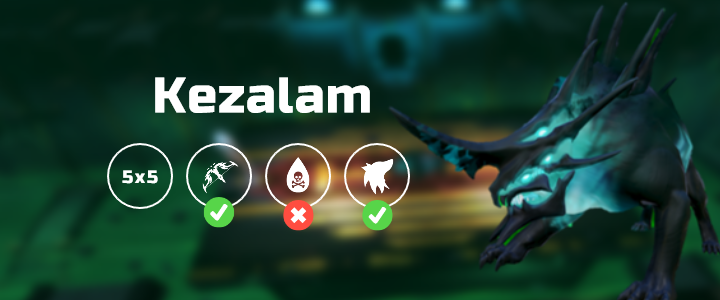
⬥ Kezalam uses both Magic  and Melee auto-attacks.
⬥ Can be stunned (delays rotation).
⬥ Every auto-attack gives it 25% adrenaline, at 100% it uses its next mechanic. Adrenaline carries over between phases.
• Kezalam starts at 100% adrenaline.
⬥ For phase 2 and 3, the first mechanic is determined by the last mechanic of the previous phase.
Phase 1
SB-Scattered → Moonstone Prison + Soul Bomb → SB-Targeted → SB-Scattered → Unstable Scarabs → SB-Targeted → repeat
Phase 2
Kill Moonstone Obelisk → SB-Line → SB-Targeted → Unstable Scarabs → SB-Line → SB-Targeted → Moonstone Prison + Soul Bomb → repeat
Phase 3
Kill Moonstone Obelisk → Moonstone Prison + Soul Bomb → SB-Line → SB-Scattered → Moonstone Prison + Soul Bomb → SB-Line → SB-Targeted → repeat
T95 Rotation
⬥ This rotation seeks to consistently hit around ~2:24 kill times.
⬥ May instead deal with prison this way:
• Be MD+1 when prisoned → break free → + (remaining souls) →  + (back in prison) → →
⬩ An example of this is shown here.
⬥ Do not  scarabs if you want it to be off CD for Nakatra.
Pre-build
→ → → →
Phase 1
Kezalam
+ → → → → → → → → → → →
 /
/  → → → (evade bomb) → → → → → → →
Moonstone Obelisk 1
→ → → → →
Phase 2
Kezalam
→ → → → → → → → → → →
→ + → → → → → → → → →
Moonstone Obelisk 2
→ → → → → → →
Phase 3
→ → → → → → → →
→ → → → → → → improv
T100 Rotation
⬥ This rotation seeks to consistently hit around ~2:10 kill times.
⬥ May instead deal with prison this way:
• Be MD+1 when prisoned → break free → + (remaining souls) → + (back in prison) → →
⬩ An example of this is shown here.
⬥ Do not scarabs if you want it to be off CD for Nakatra.
Pre-build
→ → → →
Phase 1
Kezalam
+ → → → → → → → → → → → →
/ → → + (evade bomb) → → + (into prison) → → → →
Notes:
⬥ Depending on LP may add more abilities before such as
⬥ Allow to phase Kezalam, and use while running to the Obelisk.
Moonstone Obelisk 1
→ → → → improv
Note: use as soon as pillar is dead.
Phase 2
Kezalam
→ → → → → → → → → →
+ → → → → → → → → →
Moonstone Obelisk 2
→ → → → → → improvise
Notes:
*⬥ Allow and conjures to phase Kezalam, and position yourself as shown here.
• Move out of bounce range of Kezalam once she's phased.
• Only possible if all moonstones are dead (e.g., damage during )*
Phase 3
→ → → → → → → →
→ → → → → → improv
Nakatra, Devourer Eternal
Nakatra Rotation
⬥ Nakatra switches between Magic and Ranged auto-attacks after each set.
• Each auto-attack gives 33% adrenaline.
⬥ Nakatra uses a mechanic every time her adrenaline bar is full.
• In phase 3, mechanics are mostly time-based.
Note: Hard Mode starts at 200 corruptive stacks, which increase her auto-attack damage.
Phase 1
Nakatra says I am afraid this is where your story ends.
2 autos → Soulfire Wave → 3 autos → Obliterate → 3 autos → Soulfire Wave → 3 autos → Soulfire Wave + Summon Scarabs → 1 auto → Soulfire Wave → 3 autos → repeat
Phase 2
Nakatra says The sanctum is mine to control.
2 Tiles → 3 autos → Obliterate → Soulfire Wave → 3 autos → 2 Sanctum Hieroglyphs → 3 autos → Soulfire Wave + Summon Scarabs → 3 autos → 2 Sanctum Hieroglyphs → repeat
Phase 3
Nakatra says The Sanctum will protect me while I only grow stronger.
Summon Nefthys + Soulfire Crosswave → Soulfire Wave → Soulfire Crosswave → Soulfire Wave → Heal Nefthys → repeat
Phase 4
After the last Nefthys dies, Nakatra shouts Suffer the full power of the Sanctum!
Shadowsands → 3 autos + Sanctum Shockwave → Obliterate → 3 Sanctum Hieroglyphs → Soulfire Wave → 3 Sanctum Hieroglyphs → repeat
T95 Rotation
⬥ This rotation seeks to consistently hit under ~3:00 kill times.
⬥ In order to survive Obliterate without  you must be 12k LP before and have
  /
/ 
• This may be achieved via  or
or 
• For Obliterate only for hit 3.
• Make sure  is active.
Pre-build
 (while banking) → → → → → →
  → +
→ + 
Phase 1
+ → → → → → →
→ → → →  → → → improv
Phase 2
+ → → → → → → → → → →
+  → → → → → → → → → →
→ → → → → improv
Note: if scarabs spawn you may  or →
or →
Phase 3
Nefthys 1
→ → → → → → → → → →
Nefthys 2
→ → → → → → →
Phase 4
Nakatra
→ → → improv
Notes:
⬥ Use abilities as phase 4 begins, can use phase counter as a visual.
*⬥ May fit in 4 abilities if using 1 tick before phase 4 begins.
• Use wave positions as a visual cue, shown here.*
Shadowsands
→ → → (tc) feline akh + → → → → improv
Notes:
⬥ Try to group felines and gorillas so that → gives 3 
⬥ Build to full off gorilla if needed.
Nakatra
→ → → → → + → → → → → →
→ → →  + + + → → → → → improv
Note: use when it becomes available.
T100 Rotation
⬥ This rotation seeks to consistently hit under ~2:45 kill times.
⬥ In order to survive Obliterate without you must be 12k LP before and have /
• This may be achieved via or
• Make sure is active.
Pre-build
+ → → → → → →
Phase 1
+ → → → → → → →
→ → + → →  + → → improv
Phase 2
+ → → → → → → → → →
→ → → → → → → → + →
→ → → → → →
Notes:
⬥ For Obliterate pray for hits 2 and 3.
*⬥ → (equip) + + (equip) → (equip) 
• Use command !0tick for more info.*
⬥ After stand in both Soulfire Waves for extra damage, ~4k damage taken with
Phase 3
Nefthys 1
→ → → →  + (to Nefthys 2)
Nefthys 2
→ → → → →
Notes:
⬥ is done later due to the timing for
⬥ Stand MD and tank Wave with
Phase 4
Nakatra
→ → → →
Shadowsands
→ → → (tc) feline akh 1 → → → (tc) feline akh 2 → →
Note: build to full off gorilla if needed.
Nakatra
→ → → → → → → → → → → →
→ → → + + → → → → → → improv
Note: for Obliterate pray for hit 3.
Example Kills
⬥ Vermyx
Content Provided by: @vex92
Formatting Maintained by: @Unknown user