Skip to content
Open in Editor

Sanctum of Rebirth Hard Mode - Solo Melee-Ranged Hybrid

​

Introduction

This is an advanced guide and assumes a deep understanding of the boss's rotations and mechanics for the Hard Mode version of the Sanctum of Rebirth, found in #Sanctum HM Mechanics.

​

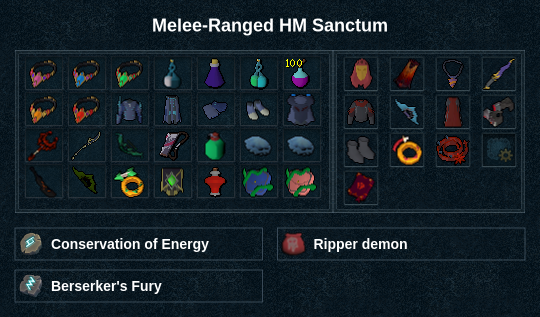
Presets and Relics

⬥ Melee-Ranged Hybrid melee range

​

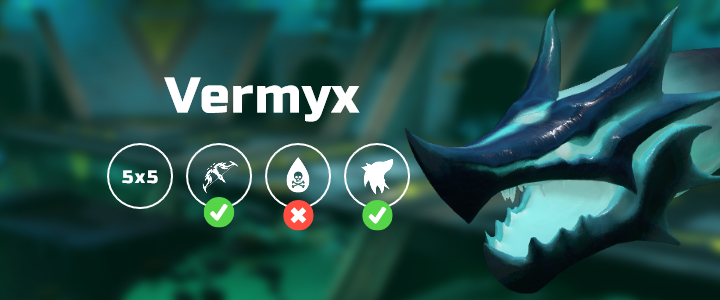
Vermyx, Brood Mother

⬥ Release all scane with consecratedkeris

​

Pre-fight

berserk + adrenrenewal

​

Phase 1

gbarge → meteorstrike → gflurry → overpower → rend → smokecloud (adaptivestrike)

Coilspawn

adaptivestrike → (tc) deathsporearrows grico → dba spec → adaptivestrike → divert → meleebasic → gbarge → soverpower

​

Phase 2

surge + roverpower + gflurry → scane → rcane → deathsporearrows grico

Coilspawn

gdeathsswift → fularrow + imbueshadows → bolg spec → piercingshot → rangedbasic → rangedbasic → ecb eofspec → galeshot → sdeadshot

​

Phase 3

rdeadshot + rapid → gloomfirebow eofspec → sgb eofspec → gloomfirebow eofspec → snapshot

​

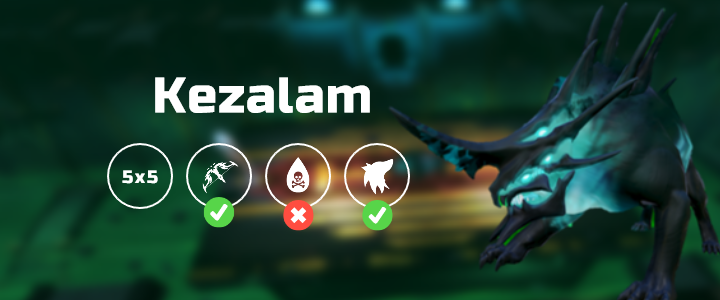
Kezalam, the Wanderer

⬥ Release all scane with consecratedkeris

​

War's Retreat

smeteorstrike

​

Enter the boss arena quickly so that your berserk consumes the vestmentsofhavochood buff

​

Phase 1

rmeteorstrike + berserk → 4t sadaptivestrike → 4t gbarge → overpower → gflurry → 3t assault → chaosroar → varanussmercy eofspec → deathsporearrows grico → rend → overpower + dive md of pillar

​

Moonstone Obelisk 1

freedom + equip tumekenslight → cane → vulnbomb + cane → pulverise

​

Phase 2

overpower → deathsporearrows grico → gdeathsswift → fularrow + imbueshadows → bolg spec → ecb eofspec → galeshot → rapid → deadshot + adrenrenewal → gloomfirebow → shadowtend

​

Moonstone Obelisk 2

vulnbomb + gloomfirebow eofspec → snapshot → snapshot (do on Kezalam if obelisk dies)

​

Phase 3

ecb → grico → bolg → galeshot → rapid → gloomfirebow → sgb → grico

​

​

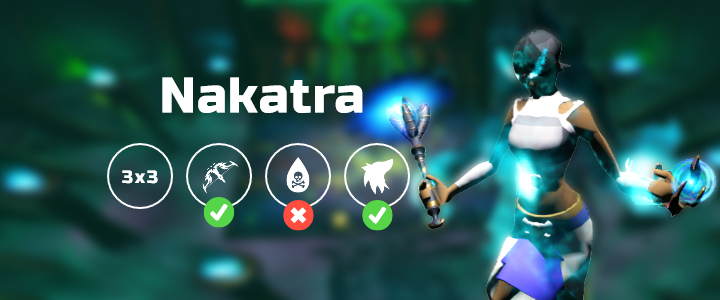
Nakatra, Devourer Eternal

⬥ Release all scane with consecratedkeris

⬥ This rotation assumes energising4 + master attack cape perk

​

War's Retreat

sezk spec

​

Phase 1

rezk spec + meteorstrike → divert → berserk → gbarge → overpower → gflurry → varanussmercy eofspec → chaosroar → scane → rcane + overpower

​

Phase 2

varanussmercy eofspec + adrenrenewal → backhandflank → varanussmercy eofspec → backhandflank → overpower → rend → scane → rcane + gflurry → overpower + powerburstofvitality → punish + disrupt → divert → imbueshadows

​

If not yet phased grico → gdeathsswift → shadowtend → continue from galeshot below with available cooldowns

​

Phase 3

Nefthys 1

deathsporearrows grico → gdeathsswift → fularrow galeshot → rapid → deathsporearrows grico + surge tick 2

​

Make certain you do not surge earlier, as this will null grico hits

​

Nefthys 2

fularrow snipe → bolg → deathsporearrows dbow eofspec

Prephase

4t fularrow deadshot → shadowtend / snapshot → meteorstrike → gfury

​

Phase 4

Shadowsands

berserk + surge + dive → (tc) pulverise → (tc) cane → tc + adaptivestrike (leave once it lands)

Nakatra

(2t tc) + dba spec → gbarge → chaosroar + dive → sezk spec → rezk spec + gflurry → overpower → varanussmercy eofspec → cane → punish → rend → assault

​

Example Kills

⬥ Vermyx melee range

⬥ Kezalam melee range

⬥ Nakatra melee range

​