Temple of Aminishi Melee-Ranged (Hybrid) 


Introduction
This is an advanced guide which assumes a strong underlying knowledge of all mechanics and information presented in #ed1-basic.
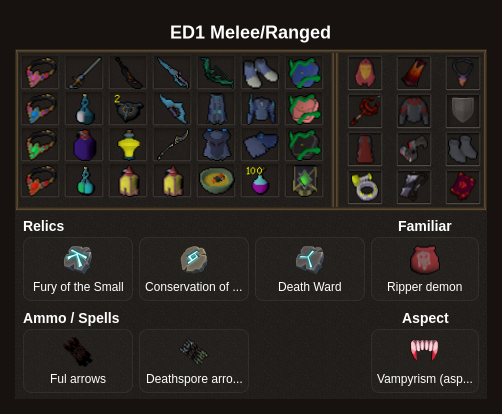
Presets and Relics
Rotations
⬥ It is assumed  is equipped for any mob clearing between bosses.
⬥ Camp  for the entire dungeon.
 is only used as a switch at the end on
  crystals.
⬥ This guide aims to achieve sub 6:00 timers with consistent Masuta water skips.
Wars

 → equip
(optional: build 3+  stacks before )
Start to Pre Sanctum
 +
+  towards left barrier
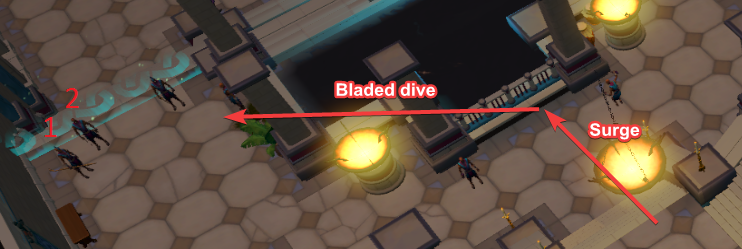
4 Elite Sotapannas
(tc) +  →
→ 
→ + +  → + →
→ + →
9 Elite Sotapannas
 → (tc) +
→
3 Elite Sakadagami
/  → () → + click door
4 Elite Sakadagami + 1 Elite Sotapanna
+ + (tc) +
3 Elite Sakadagami
(→  )
)
→ + → to move towards Sanctum Guardian
3 Elite Sakadagami
→ + swap to gear → 
 →
→  → (→
→ (→  ) →
) →  →
→  +
+  →
→ 

→ into Sanctum instance
Sanctum Guardian
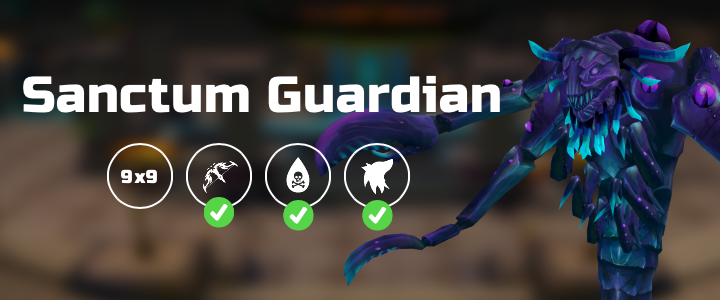
Sanctum Guardian
Note: camp  and run side to side to avoid Sanctum's AOE autos and maximise
  damage.
(tc) +  +
+  →
→  →
→  →
→  →
→  →
→  +
+  →
→  → → →
→ → →  (→
(→  → → → if not dead yet)
Post Sanctum to Pre Masuta
+ an Eastern mercenary on the way to the next Cloaked Zealots.
→
2 Cloaked Zealots
 →
→
→ → →
3 Cloaked Zealots
→ (tc) +
utilize , , and to move around the large center pool
1 Cloaked Zealot
 →
→ 
→ → →
3 Cloaked Zealots
→
→ +
6 Cloaked Zealots
→
2 Elite Sakadagami
→ (target other Sakadagami)
→
4 Renegade Menaphite Soldier + 2 Eastern Mercenary
+ lure mobs together → →
→ →
4 Cloaked Zealots
 → (→ )
equip  → + into Masuta instance
Stand here for + :
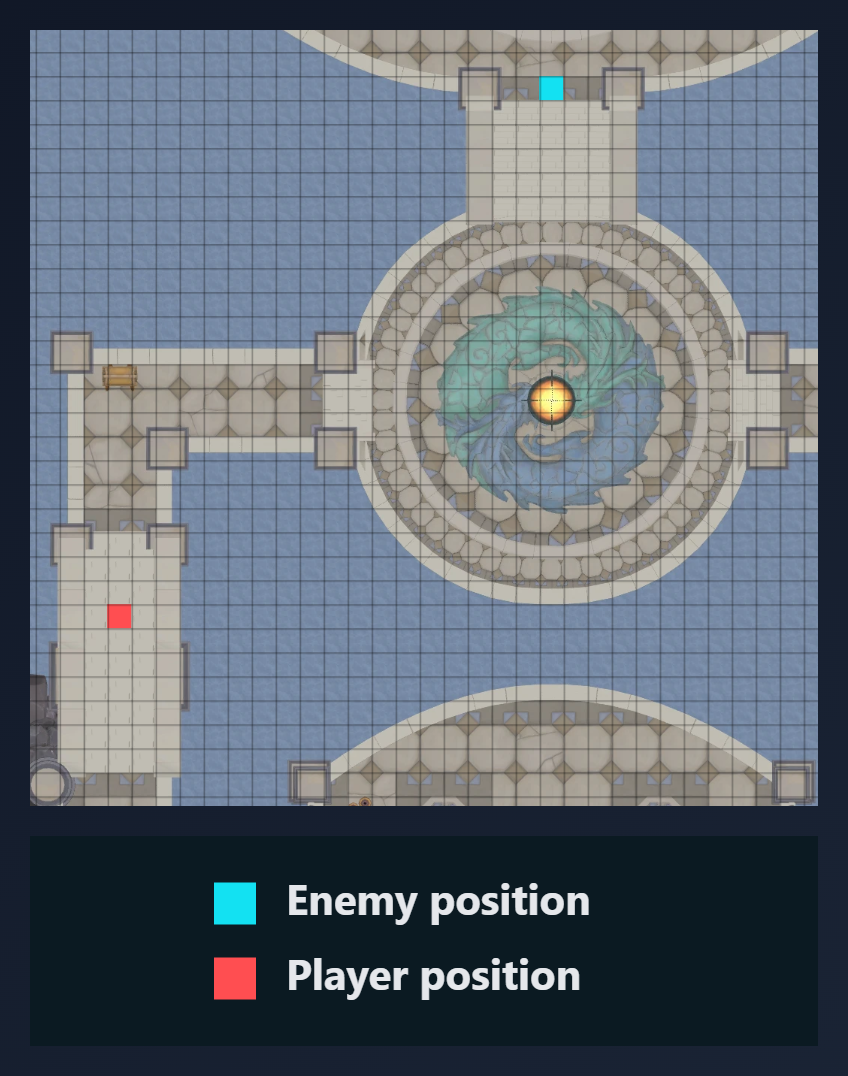
Masuta, the Ascended
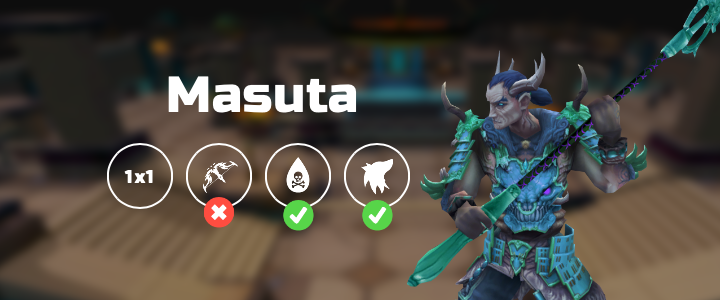
Notes:
⬥ Refer to the Masuta Water Skip Explanation section for a more detailed explanation.
⬥ Use  if required to avoid phasing past 275k too early.
⬥ Masuta should idealy be around 290-300k health after . Use defensives to build if his health is getting too close to 275k.
Phase 1 (1st Persistent Hurricane + Greater Shadow Tsunami + Pulverise)
(tc) + →  → → + switch to gear →
→ → → → →  → → + switch to gear
+ → equip + spam basic abilities until 120% adren → wait for Masuta to use Greater Shadow Tsunami → → s /  →
→
Phase 2/3 (Water Skip)
Wait for Persistent Hurricane to start:
→  →
→  /
/  →
→  → → → ( → if hp is high)
Masuta Water Skip Explanation
⬥ Masuta phases to the timelocked Thrashing Waters special at 275k hp, and can no longer phase after 55k hp. The goal of this rotation is therefore to kill Masuta on the 'Persistent Hurricane' spin attack (the long special attack) so it cannot phase into the Thrashing Waters phase, saving one minute on the Masuta kill.
⬥ Masuta's attack pattern has a random number of auto attacks between specials, but the number of auto attacks follows a normal distribution, meaning you will generally encounter the following pattern:
⬥ 2-4 auto-attacks
⬥ Persistent Hurricane
⬥ 3-5 auto-attacks
⬥ Greater Shadow Tsunami
⬥ 3-5 auto-attacks
⬥ Repeats from Hurricane
Post Masuta to Pre Seiryu
3 Defence Pylon
 + may still be active from Masuta. Otherwise use
  while still 120 adren w/ vestments.
target middle left pylon on entry → + (→ ) → switch to gear →
→ target middle pylon in group of 3 →  → → → →
  → + → → + into instance
Seiryu, the Azure Serpent
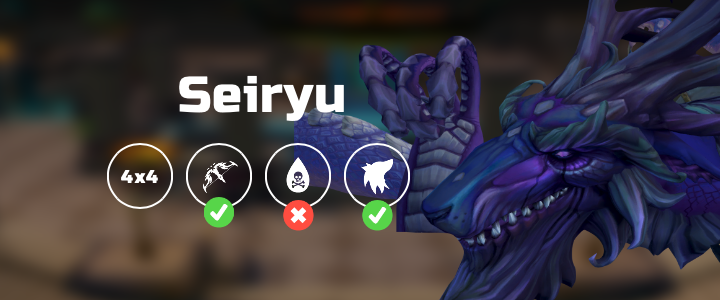
Seiryu
(tc) + + → → → → → → → → + switch to gear → + + start climbing
Crystal 1
+ (tc) + equip 
 → + → +
  → → →
→ → →
Crystal 2
(click crystal) + + → + → → → (→ if not dead)
Crystal 3
(click crystal) + + → → → (8t) → (cancel with when in KO range)
Note: damage on crystals can have high variance due to  procs and crits. Improvise as needed.
Example Kills