Hardmode Zuk (Experienced - Necromancy)
Introduction and preface
This is an advanced guide which assumes a strong underlying knowledge of all mechanics and information presented in #tzkal-zuk-basic.
The rotations used are examples and can be adapted depending on Adrenaline, Residual Soul stacks  and Necrosis Stacks
  . The lures generally require moving depending on which monsters are blocked prior to using
  .
.
Notes:
⬥ Players should try to follow this guide as best as possible. If you find that you are slower at moving between luring positions then you should try to always be hitting an enemy while running
⬥ You should upkeep  and
and  +
+  at all times for a reduction in damage taken, healing and increased damage dealt
⬥  and
and  should be used as defensives will be vital during the encounter, such as to use
  on challenge wave 15 and
  in the conduit phase
⬥  or
or  are viable alternatives, however, they are less consistent.
  offers consistency, cheap upkeep cost, longer duration, more damage, and more healing
Presets and Relics
Preset Notes
⬥  and
and  used at the bank
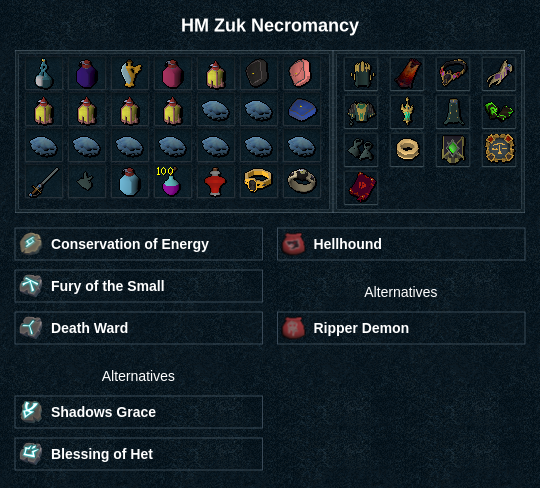
⬥  and
and  should only be worn when summoning conjures and when fighting Zuk
  as he isn't poisonable nor does the
  buff work on him
⬥ Mobile  perk is a must have on gear
• Alternatively, use Shadow's Grace 
⬥ Mage, Ranged or Melee Obsidian Helm  /
/  /
/  can be used for damage reduction. Although it is offstyle, it can be useful for the damage reduction (especially if charged in the Fight Cauldron beforehand). This guide assumes that a
  familiar is used, reducing the need for an offstyle obsidian helm
⬥ A  familiar may be used, however, the usefulness of it is limited throughout the majority of the encounter and requires micro-management with
  use and
  as it is prone to getting stuck behind obstacles
Waves 1-16
⬥ A visual guide to the lures used throughout the fight can be found here
• Use the panel icons (1,2,3,4,5,6...) to navigate between each wave. Challenge waves are not included.
Wave 1
(Go East) →  → → (East Meleer)
  →
→  → (Go North)
  +
+  → → (Any North Meleer) →
  →
→  (South) +
 (Kill both bats with + ) →
  →
→ 
Wave 2
Start North-East
(NE Ranger)  + → (West and tc NW Ranger) +
  →
→  (East and tc NE Meleer) + → → (Move South)
  → (West Meleer) → (Yt-MejKot) → finish with basics → →
Wave 3
Start South-East
(SE Yt-MejKot)  → → (Bat) → → (Move West) → → → → (East) +
  (East Ranger) → → →
Wave 4 (Igneous wave)
General pointers
To minimise time spent on Igneous waves you should aim to do 2-3 basics and have and finish off the igneous mobs. Move towards while attacking the Igneous Hur (Meleer).
Specific rotations
Ideally conjures are summoned or extended prior to the igneous mobs spawning, however, if necessary then either or as needed. Similarly, having and cast before the wave spawns is ideal.
⬥ Igneous Mej: → →  + → → → → towards Igneous Xil +
⬥ Igneous Xil: + → →  →
→
⬥ Igneous Hur: → +  → →
→ →  → →
→ →
⬥ Zuk : + → → → → → Dismiss conjures and →
Wave 5 (Challenge wave)
→ before the challenge monsters spawn (can do this after the challenge monsters die if preferred)
→ tc + → → (target the two that won't get hit) → .
Wave 6
Start North
→ → (North Ranger) → → (South and tc Jad) + → + + → → (towards entrance) + → → → (Bats) → → → → (Jad) → (North after Jad dies) + (Meleer) → finish Rangers with / / → → →
Wave 7
Start East
(East Bat) → (North Mager) → (West Bat) → (NW Ranger) → (NE Ranger) → → (East Ranger) → → → → → (Middle) + → → → → →
Wave 8
Start East
(East Mager) + → (North Ranger) → → Go NW (West Mager) → → → (East) + → (NE Ranger) → (Move behind east rock) → (East Ranger) → → → → (Middle) + → → → → →
Notes:
⬥ Ensure you do not walk out of range of the TzekHaar-Mej after casting or you will lose the bounce
⬥ The third can be cast on any of the mobs in the middle, the TzekHaar-Yt-MejKot is often the ideal target. Ensure you do not walk too far out or else the + will not hit everything
Wave 9 (Igneous wave)
Specific rotations
Ideally conjures are summoned or extended prior to the igneous mobs spawning, however, if necessary then either or if needed. Similarly, having and cast before the wave spawns is ideal.
⬥ Igneous Mej: → → + → → → → towards Igneous Xil +
⬥ Igneous Xil: + → → →
⬥ Igneous Hur: → + → → → →
⬥ Zuk : + → → → → → → dismiss conjures + →
Wave 10 (Challenge wave)
(tc) + + →  → → →
→ → →
Wave 11
Start North
(North Mager) → (South) → (SE Bat) → → (West) → (SW Bat) → → (Go NW rock) → + → (Jad) → (NW Mager) → (West Mager) → → (Jad) → → → → (North) + → → → → (Yt-MejKot) → finish with basics → → →
Wave 12
Start North
(Bat) + → (Move East) → (East Ranger) → → (East Mager) → → (SW) → (SW Mager) → → → (Bat) → → → (Middle) + → → → → →
Note: Ensure the East ranger and mager are dead before and moving to the middle to
Wave 13
Start North
(North Ranger) → (East Mager) → → (SE Ket-Zek) → + (SW) → → (SW Ket-Zek) → → →  → → → → (South Ranger) → finish South mager and ranger with basics until cd is <3s → → (Middle) + → → →
Wave 14 (Igneous wave)
Specific rotations
Ideally conjures are summoned or extended prior to the igneous mobs spawning, however, if necessary then either or if needed. Similarly, having and cast before the wave spawns is ideal.
⬥ Igneous Mej: → → + → → → → towards Igneous Xil +
⬥ Igneous Xil: + → → →
⬥ Igneous Hur: → + → → →
⬥ Zuk : + → → → → → → → dismiss conjures + →
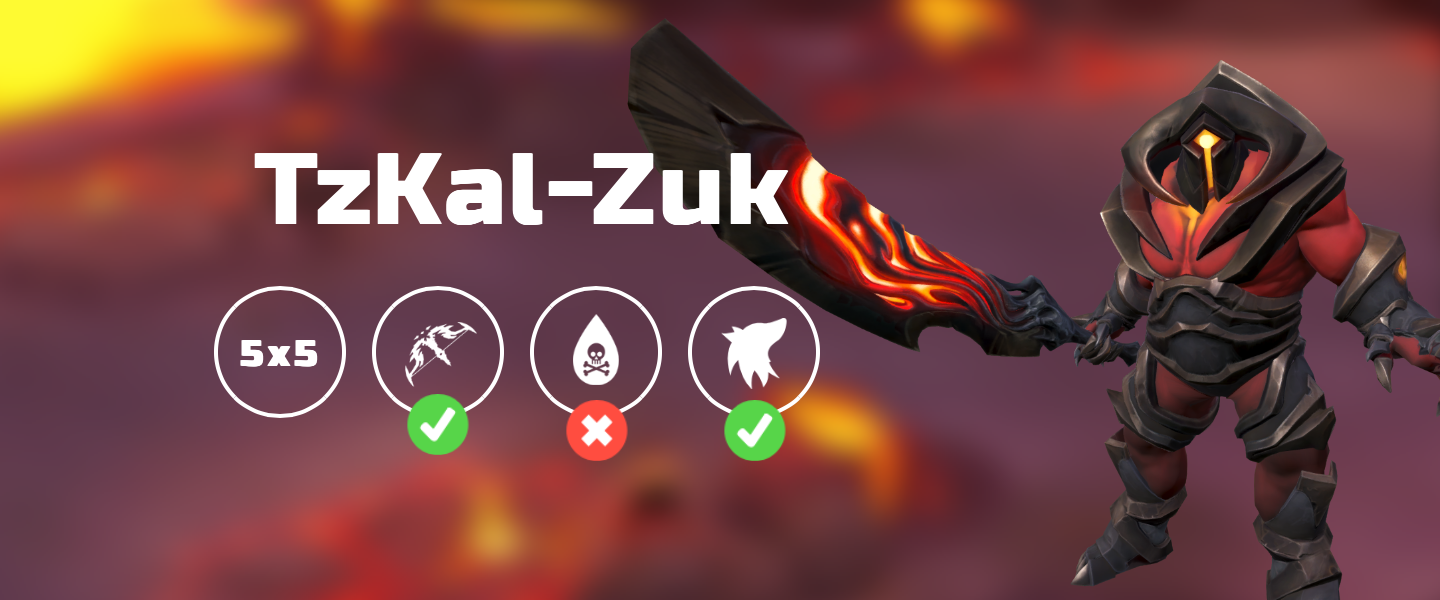
Wave 15 (Challenge wave)
 + → → → → + → → →
  → → →
→ → →
is used to block the first grey hit, + either  (green) or
  (blue) are used for the next 2 hits and to block the final grey hit. Using here ensures it is back in time for .
Wave 16 (Triple Jad)
Stand beside the north-west rock and kill the north-west Jad while the other 2 group
Jad 1: + → → → → (When Jad 1 dies)
Jad 2 and 3: → → → → finish with basics → build and on
→ → pre Har-Aken
Wave 17 (Har-Aken)
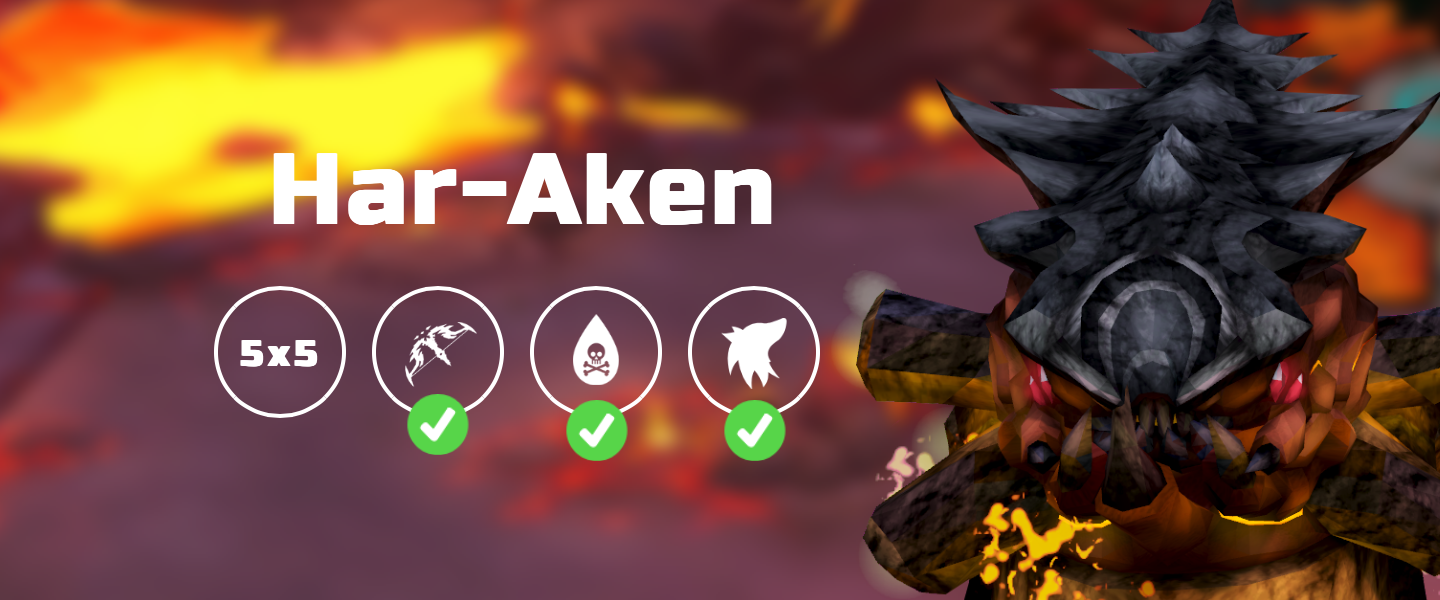
to  + → → → → → → → (if 5 then ) → → → → → → finish with basics → dismiss conjures when dies
Wave 18 (Tz-Kal Zuk)
First cycle
Build to 100% adren pre fight by using basics on Zuk while he is on his throne
⬥ Apply
⬥ Use 
⬥ Equip and
→ → →  → build to 100% adrenaline with → → → → → → → →
  (bleed) → → → → → → + (debuff) + → → → → (slam) + → → → → + (big hit) → → → → → → → →
Note: Some improvisation will be necessary as it depends on when you started attacking Zuk (and by extension when you get melee slammed) and how much adrenaline you have
Pizza Phase
Move with between each monster to avoid the fire
Igneous Hur: → → + → → → →
Igneous Xil: → → + → → → → → → →
Igneous Mej: → → → → → →
Second cycle
+ + → + → + click extra-action button → → → → → → (bleed) → → → → → → + (debuff) + → → → → → (slam) + → → →
Note: Again, some improvisation is required here as it depends on when you started attacking Zuk (and where you get melee slammed in your rotation) and on adrenaline
Conduits
This assumes has ran out by the time you get conduits. If this isn't the case you can use an extra before living death ends on the conduit.
⬥ Deal with Zuk's charged attacks using the following:
• C1 →
• C2 → / 
• C3 →
• C4 → 
Conduit 1: + → → → →
Conduit 2: + → → → → →
Conduit 3: + → →
Conduit 4: + → → → fillers to finish
Example videos
⬥ Full Kill (12:39 with death mark bug on pillars)