Telos: Magic (FSoA) 

Introduction
This guide assumes a very strong understanding of everything found in #telos-basic, #Stuns & Mechanics Overview and #P5 Movement & Timing.
The rotations listed below are ideally used at 1000%+ enrage. However, they will generally work at lower enrage as well, and it is encouraged to learn these rotations as early as possible to build good habits and muscle memory.
Notable Enrage Checkpoints and Changes (999+)
⬥ 1000% P4 one rock will fall, P5 multiple rocks will fall, immortality no longer works P5, and Telos will freedom stuns and binds with a 16 tick cooldown
⬥ 2000% "So you think you can guard?" Achievement, aka Silver Warden
⬥ 2700% Tendrils damage required caps at 30,000
⬥ 3300% The first prayer drain on P3 will smite you from full unless Telos touches the beam.
⬥ 4000% Hard enrage cap; "True Warden" achievement, aka Gold Warden
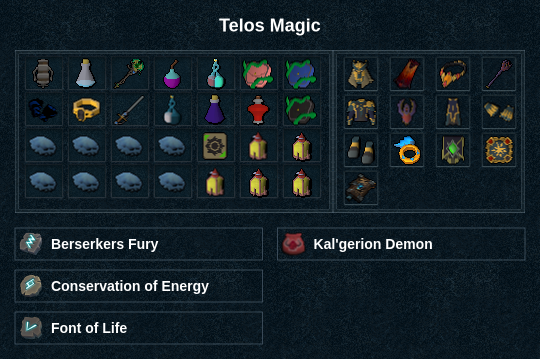
Presets and Relics
Phase 1
 +
+  +
+  →
→  +
+  +
+ 
( ) (tc) +
  +
+ 
 →
→  →
→  →
→  →
→  →
→ 
Phase 2
( ) → +
) → +  → →
→ →  + + →
+ + →  → /
→ / 
Phase 3
() → → equip ( ) +
) +  + +
+ +  →
→  → equip (
 ) + → →
Phase 4
Drop
() → (4t) →  →
→
Font 1
 →
→  →
→  →
→  → +
→ +  → →
→ →
Font 2
→ → →  → → → → (4t) → →
Font 3
→  → → → → → +
Phase 5
(tc) + + → + +  →
→  → → → +
  →
→  → + → →
Notes:
⬥ For more information on timing & moving efficiently throughout P5, read #P5 Movement & Timing
⬥ If then after
Example Kills
⬥ 2:46
Content managed by: @Unknown user
Content maintained by: @porfy