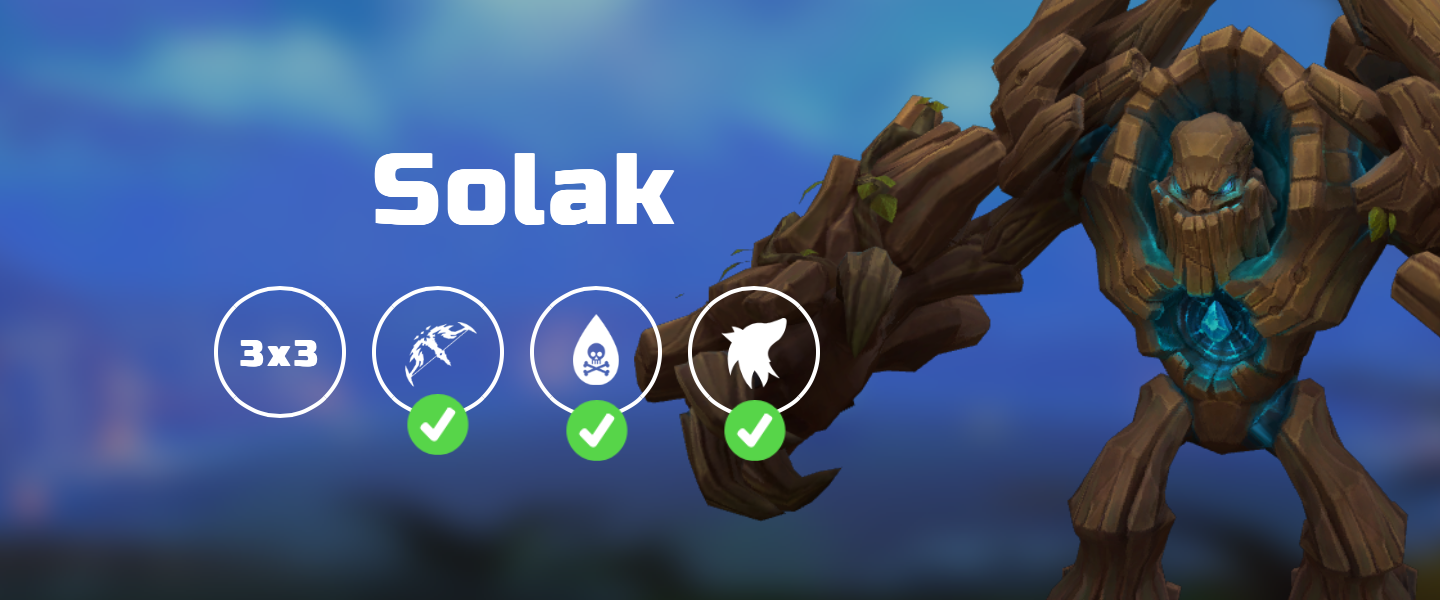
Magic-Melee Hybrid Solo
Introduction
This guide will cover a solo magic-hybrid strategy, with the aim of approximately 3:00 - 3:15 kill times.
This guide assumes you are already familiar with the basic mechanics of Solak which can be seen here #solak-basic and assumes that you own BIS gear in both Magic and Melee.
Important Notes
⬥ Due to the nature of  from
from  a little improvisation might be needed.
⬥ This rotation makes use of switching to  activating
  and switching back to
  in a single tick during the melee parts of the rotation. This is NOT required. This means that your arm+legs and core phase might be slightly slower, and that phase 2 will be marginally slower.
⬥ This rotation makes NO use of  . Feel free to use it and improvise with it.
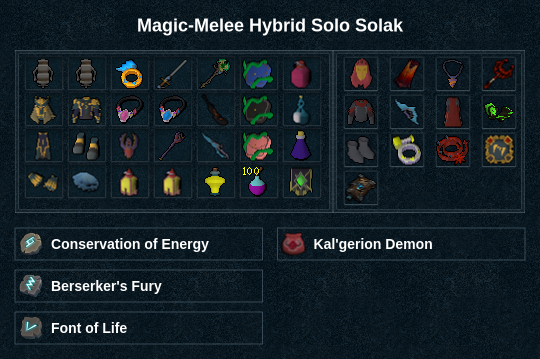
Presets and Relics
Rotations
Wars
 → s
→ s
Phase 1
Solak
Prebuild:  → tc r +
  → wait 2 ticks +
  →
→  →
→  →
→  /walk in front of Solak + s
start encounter + tc r +  → equip and
  →
→  → → →
→ → → 
 → → →
→ → →  + switch to
  →
→  +
+  + →
+ → 
notes:
⬥ aim to get two  of by using early in wars
⬥ keep soulsplit off until after your to juice  relic
relic
Arms, Legs & Core
⬥ Arms
 → click far arm
  →
→  → switch to
  + → → click close arm → (on far arm if it did not die)
⬥ Legs
preplace  and
and  →
→  →
→  → → improv if not dead
⬥ Core
→  →
→  → switch to
  → do two defensives to built adrenaline
note: make sure you don't press any offensive abilities after asphyx/as the core dies, as you will not be able to gain adrenaline from the defensives if you do
Phase 2
Eruptions
⬥ Southwest & Northwest
Walk to west tile of SE eruption spawnpoint +  → tc+ → →
  +
+  + click NW eruption and apply on it while keep moving towards SE eruption
⬥ Southeast
/ to SE eruption → 
⬥ Northeast
/ to NE eruption → 
Solak
to  +
+  → → → (+ + + ) → → → → + switch to → + → → → → → → → 3tick
  → → + → → → improv until phased → switch to → build adren with 2/3 defensives
Phase 3
Post hp cap & blight bar drained
→  → → → → → → → → → (+ + + ) → → + enter elf
⬥ elf
to elf + → → → 
Phase 4
towards → place + tc + → → →  + click → → → → →
  → → + → → improvise until dead
Example Kills