Sanctum of Rebirth Hard Mode Mechanics
Introduction
The Sanctum of Rebirth is a boss dungeon set in the Underworld. Formerly owned by Amascut, three soul devourer bosses can be fought after completion of the Soul Searching miniquest. This guide focuses on the boss's rotations and mechanics for the Hard Mode version. Only in Hard Mode is the Shard of Genesis Essence  dropped that upgrades Tier 95 weapons to Tier 100.
Vermyx, Brood Mother
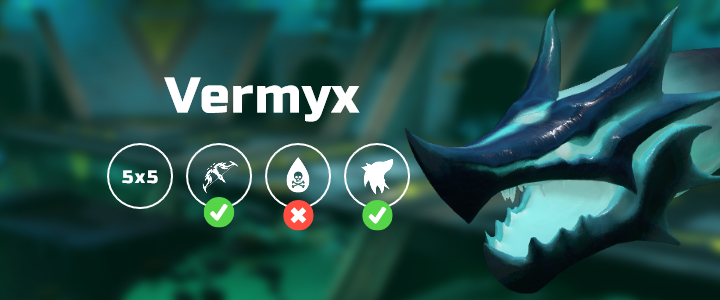
Auto-attacks
⬥ Vermyx uses both Melee  and Ranged
  auto-attacks, while Coilspawns only attack with Ranged
• Auto-attacks cause 2% armour break per successful hit
⬥ Every auto-attack Vermyx's adren bar fills by 50%, starting a new mechanic when full.
⬥ Starts at 4 Brood Mother Bond stacks in HM
⬩ 15% extra damage dealt by Vermyx per coilspawn alive
⬥ You can flank  by standing right next to Vermyx's head.*
Vermyx Rotation
Phase 1 (start: 600k/player)
3 autos →
Moonstone Shards → 2 autos → Wyrmfire + 2 autos → repeat
Phase 2 (start: 450k/player)
3 autos →
Moonstone shards → 2 autos → Soul Bomb → 1 auto + bomb hit (in that order) → 1 auto → Wyrmfire → 8 autos + Scarab Healer → Moonstone Shards
Phase 3 (start: 300k/player)
3 autos → Scarab Healer (+ autos continue) → 3 autos → Moonstone shards → 2 autos → Soul Bomb → 1 auto + bomb hit (in that order) → 1 auto → Wyrmfire → 7 autos + Scarab Healer → Wyrmfire
Vermyx Mechanics
Moonstone shards
Vermyx will shout Snaaaarl! then the following pop-up will appear: Shards of moonstone mark your feet. Prepare to move! sprouting moonstone shards (10.5k LP)
⬥ Three appear per player
⬥ Hits 4k typeless if not evaded
• Binds, stuns, and disables protection prayers for 2 seconds
⬥ Next shard location is aimed 1t after former (1-2 squares away)
• Blocks movement, line-of-sight, and persists through the remainder of the fight unless killed
⬥ To deal with this mechanic, move out of the way of the light blue sections which will appear underneath you
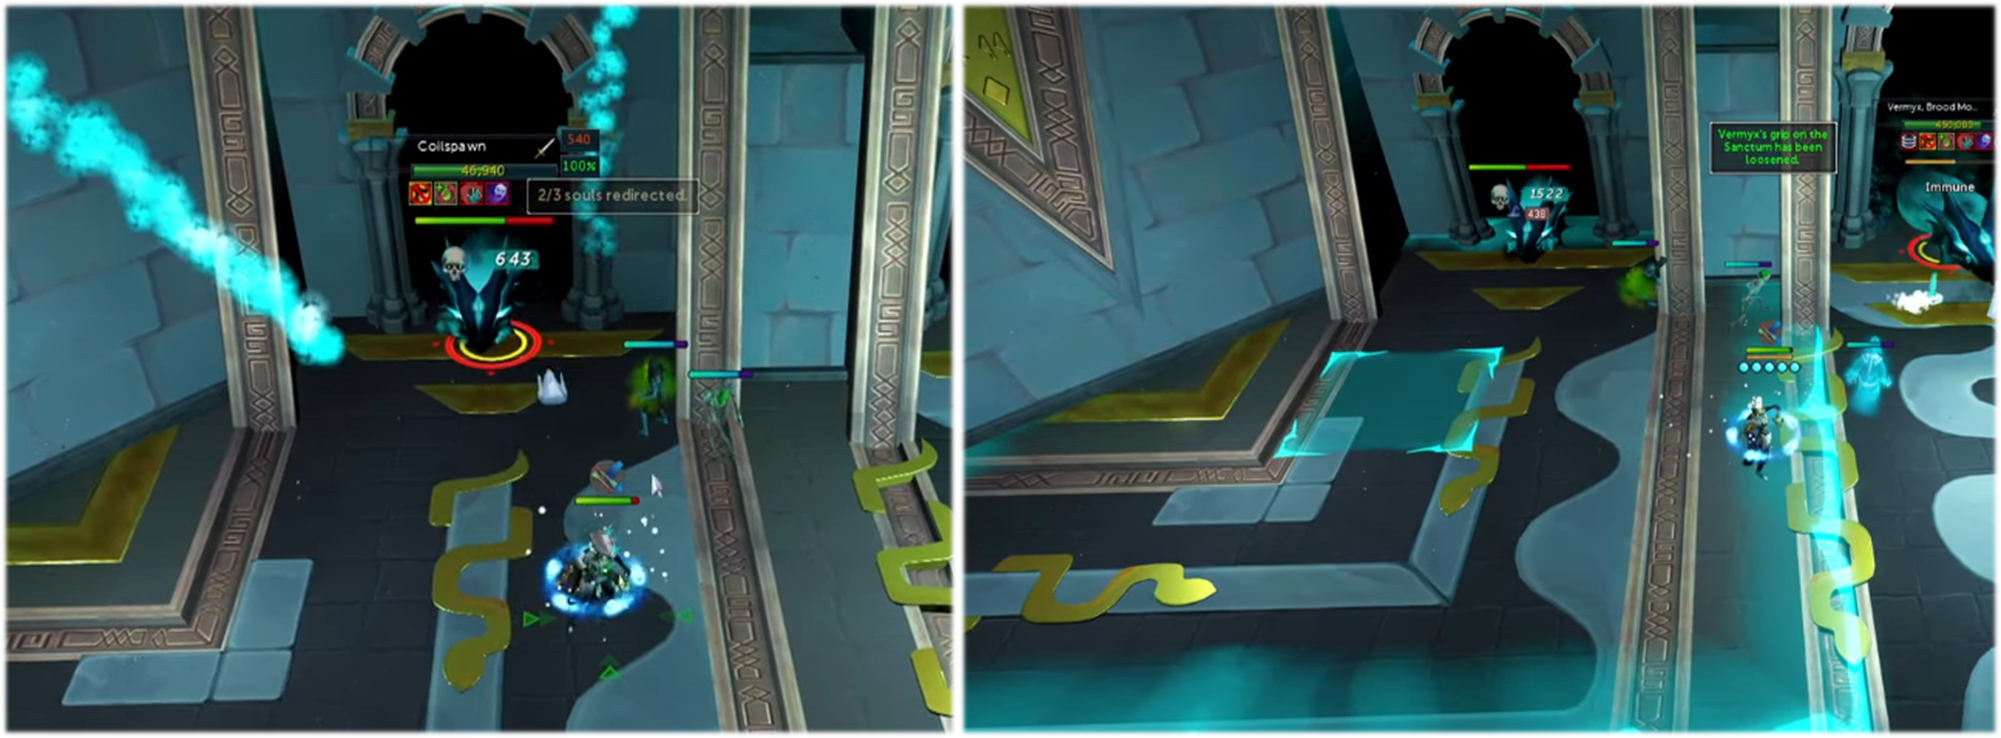
Soul Rush
⬥ Vermyx will shout Rarghh! then the following popup will appear: Vermyx channels power from the Sanctum towards the west/east.
• Green arrows will appear to indicate where to stand to redirect the soul: it will always be 3 souls per player), and the west side will always be first
⬩ These appear 1.2 seconds faster in HM.
• Directly after redirecting the souls, Vermyx reappears and the next phase starts.
• Shortly after the third set of green arrows appear, that section of the room gets Wyrmfire. An example of this mechanic can be seen here
⬥ To deal with this mechanic, focus on redirecting souls by standing between the green arrows
• Coilspawns will respawn once per side if you kill them and the phase will keep repeating until 3 souls are redirected (3 per player per phase)
• Killing the Coilspawn will speed up the redirecting souls for the next rotation.
Wyrmfire
Vermyx stops auto-attacking and any of the heads can start using AoE breath attacks.
⬥ West and East Coilspawn use a breath attack that goes across the middle of the arena.
⬥ Vermyx, NW Coilspawn, and NE Coilspawn use a 19x19 AoE breath attack
• After Soul Rush, Wyrmfire is guaranteed and only in:
⬩ Northwest (phase 1-2)
⬩ Northeast (phase 2-3)
• If not after Soul Rush, all alive heads including Vermyx will Wyrmfire in an unknown order
Corrupted Scarab Healer
Vermyx will say Heaaall… and a corrupted Scarab Healer (15k LP) will spawn on the outer edge of the arena, making its way to Vermyx
⬥ One per player
⬥ Stun to damage it
⬥ The spawn does not delay Vermyx's autos
⬥ Heals Vermyx by double its remaining LP when its overhead bar is full
Soul Bomb
Vermyx will shout Kreeee! and the following pop-up will appear: Vermyx fires a Soul bomb. Ready yourself!
⬥ Vermyx will point her head up and fire two 8k soft typeless targeted hits per player, telegraphed on the ground.
• These target the ground and will hit anything in a 3x3 area.
• To deal with this mechanic: move out of the way of the light blue sections which will appear underneath you
Kezalam, the Wanderer
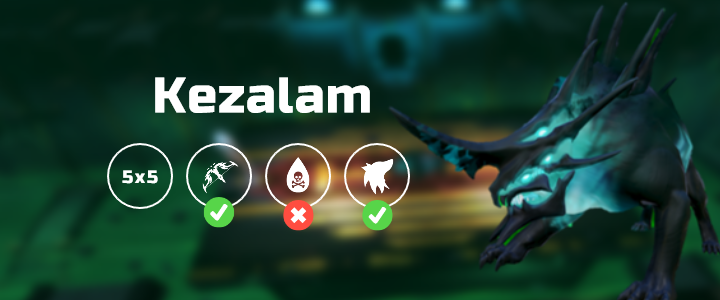
*⬥ Uses  and autos
⬥ Can be stunned (delays rotation)*
Kezalam Rotation
⬥ Every auto-attack gives it 25% adren, at 100% she uses her next mechanic. Adren carries over between phases.
Phase 1 (start: 900k/player)
Note: Kezalam starts at 100% adren.
SB-Scattered → Moonstone Prison + Soul Bomb → SB-Targeted → SB-Scattered → Unstable Scarabs → SB-Targeted → repeat
Phase 2 (start: 600k/player)
Note: First P2 mechanic is based on last P1 mechanic.
Kill Moonstone Obelisk →
SB-Line → SB-Targeted → Unstable Scarabs → SB-Line → SB-Targeted → Moonstone Prison + Soul Bomb → repeat
Phase 3 (start: 300k/player)
Note: First P3 mechanic is based on last P2 mechanic.
Kill Moonstone Obelisk →
Moonstone Prison + Soul Bomb → SB-Line → SB-Scattered → Moonstone Prison + Soul Bomb → SB-Line → SB-Targeted → repeat
Kezalam Mechanics
Sanctum Blast - Scattered
Kezalam shouts Dhaaarken and the Sanctum blasts the floor in a wide area.
⬥ Always spawn under whoever holds aggro and is based on their location
• There are safespots for this mechanic
Sanctum Blast - Targeted
Kezalam shouts and the Sanctum blasts the floor three times in a row.
⬥ sections always appear under whoever holds aggro, based on their location. They appear back-to-back-to-back
⬥ Graaah = sections under her, Kezalam spins
⬥ Kyaaa = sections surround her, Kezalam crouches
⬥ Hrrrr = sections far out, Kezalam crouches
• Deals soft typeless damage (5-7k)
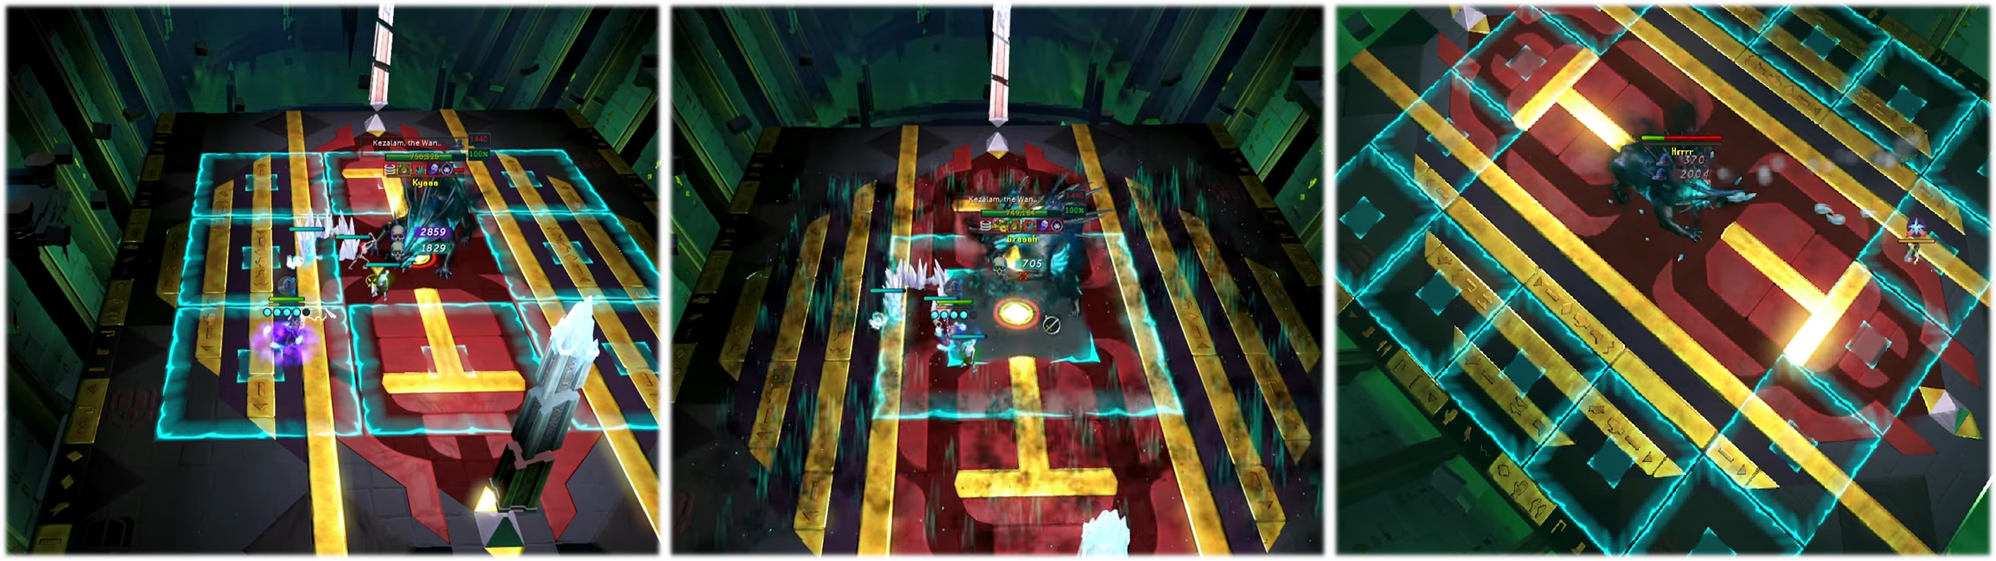 Kyaaa (left), Graaah (middle), Hrrrr (right)
Moonstone Prison + Soul Bomb
Each player is stunned and imprisoned in moonstone shards (10.5k LP), with a Soul Bomb descending on them.
⬥ Soul Bomb hits 9k soft typeless in a 3x3 area if not away
⬥ Blocks movement, line-of-sight, and persists during the remainder of the fight
Unstable Scarabs
Kezalam summons scarabs Erggg... into the arena.
⬥ Volatile scarab akhs (3k LP), two per player.
⬥ Stun to damage
⬥ Explode when overhead bar is full, dealing 6-7k soft typeless damage to all players.
Sanctum Blast - Line
Kezalam shouts Paiiin and the Sanctum blasts a line on the arena towards the player
⬥ Every player gets one, in order
 Moonstone Prison + Soul Bomb (upper-left), Unstable Scarabs (upper-right), and SB-Line (bottom)
Moonstone Obelisk and Wave
When you reach the phase HP, the Moonstone Obelisks at the edges become damageable (90k LP per player)
⬥ Each obelisk up heals Kez 9k LP every 3 seconds
• Moonstone obelisks face outward and can be flanked easily.
⬥ If failed to destroy after 25s (40t), the obelisks becomes invulnerable again and Kezalam retaliates
• A Soulfire Wave goes back and forth over the arena. This wave is not telegraphed
⬩ Deals 8k soft typeless damage. Can be safespotted behind the obelisk
⬥ In groups you can skip the P2-3 transition by killing both Moonstone Obelisks in the P1-2 transition.
• Obelisks need to be killed at roughly the same time (~1 GCD) for this to work
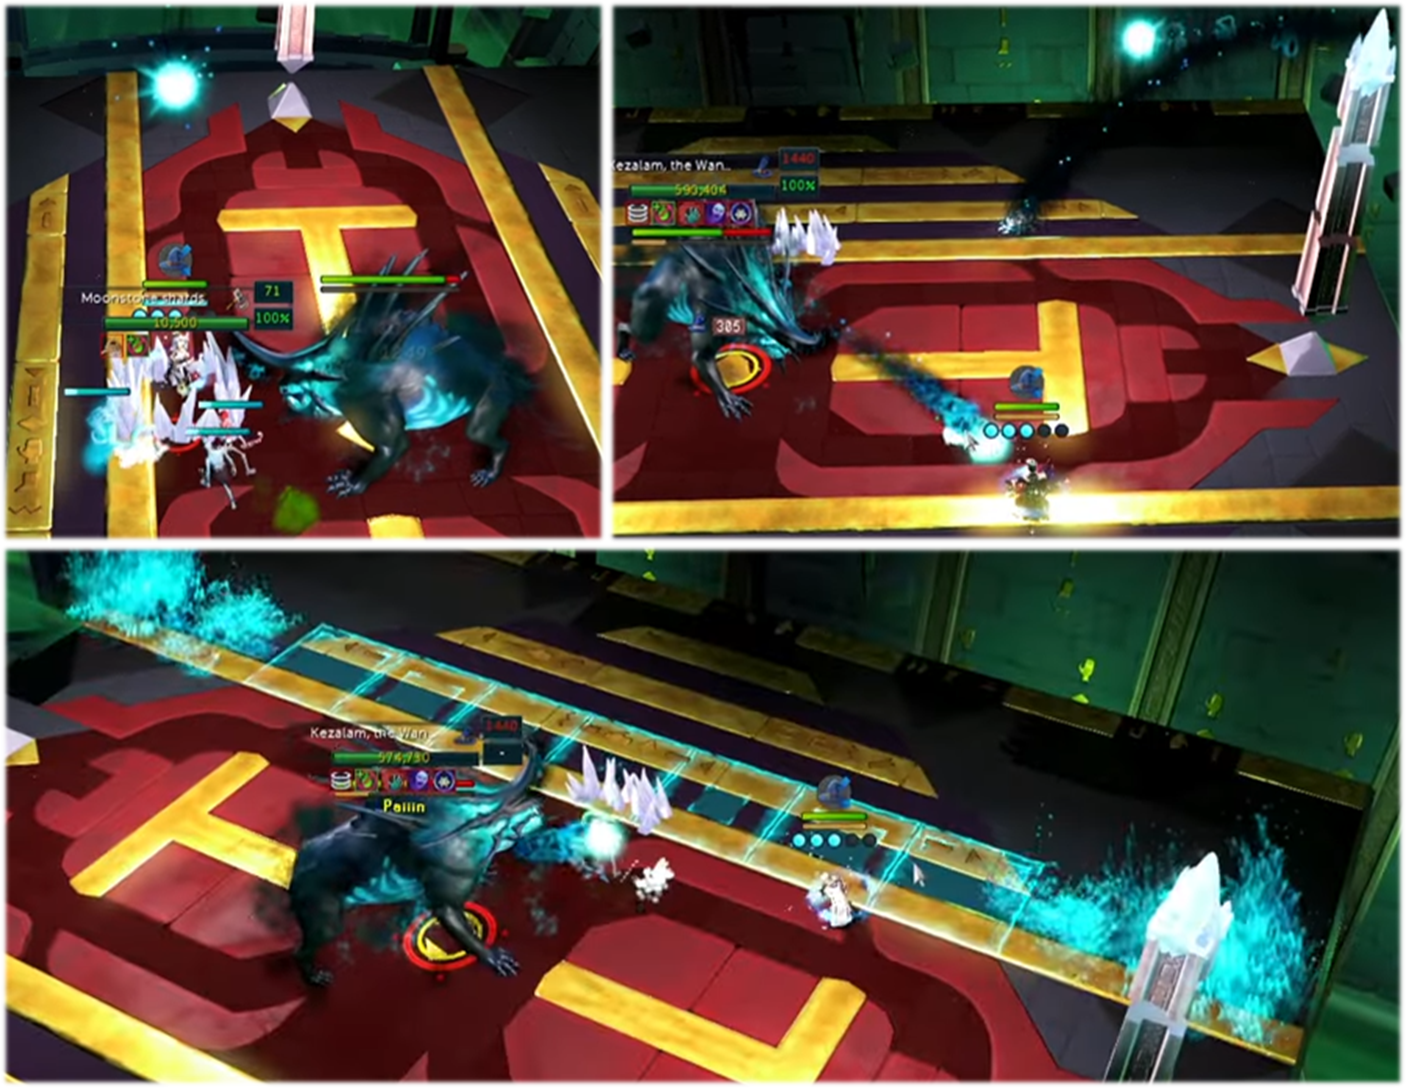
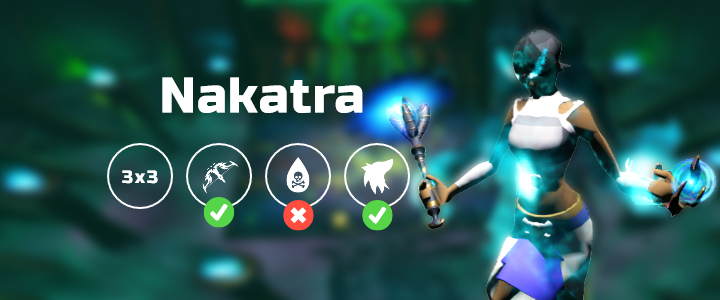
Nakatra, Devourer Eternal
*⬥ HM starts at 200 corruptive stacks, that increase her typed damage (autos, waves, obliterate)
⬥ Switches between and autos after each set
• Each auto gives 33% adren
⬥ Nakatra uses a mechanic every time her adren bar is full. In phase 3 and 4 however, mechanics are mostly time-based*
Nakatra Rotation
Phase 1 (start: 1200k/player)
Nakatra says I am afraid this is where your story ends.
2 autos → Soulfire Wave → 3 autos →
Obliterate → 3 autos → Soulfire Wave → 3 autos → Soulfire Wave + Summon Scarabs → 1 auto → Soulfire Wave → 3 autos → repeat
Phase 2 (start: 960k/player)
Nakatra says The sanctum is mine to control.
2 sections →
3 autos → Obliterate → Soulfire Wave → 3 autos → 2 Sanctum Hieroglyphs → 3 autos → Soulfire Wave + Summon Scarabs → 3 autos → 2 Sanctum Hieroglyphs → repeat
Phase 3 (start: 480k/player)
Nakatra says The Sanctum will protect me while I only grow stronger.
Summon Nefthys +
Soulfire Crosswave → Soulfire Wave → Soulfire Crosswave → Soulfire Wave → Heal Nefthys → repeat
Phase 4 (start: 480k/player)
After the last Nefthys dies, Nakatra shouts Suffer the full power of the Sanctum!
Shadowsands → 3 autos + Sanctum Shockwave → Obliterate → 3 Sanctum Hieroglyphs → Soulfire Wave → 3 Sanctum Hieroglyphs → repeat
Nakatra Mechanics
Obliterate
Nakatra says Prepare for death… & Be obliterated! before blasting you three times with a ramping hit.
⬥ How to deal with it:
•  +
+  or
or  /
/  /
/  →
→ 
• Damage-forward option:  + →
+ →  +
+  →
→
⬩ /  the second hit. is riskier
method example here
Soulfire Wave
Nakatra says The soulfire erases all. and two soulfire waves will run over the arena in bands (West-East or South-North), dealing magic damage.
⬥ Position yourself between the two wave edges to step out of the way.
• Alternatively, you can run (or  /
/  ) through them
⬥ This mechanic has 50% defensive penetration (excl. )
Summon Scarabs
Two scarabs can be summoned during a Soulfire Wave mechanic.
⬥ Stun to damage.
⬥ Volatile scarab akh (3k LP)
• Stationary
• Explodes when overhead bar is full, dealing 6-7k typeless damage
⬥ Corrupted scarab healer (15k LP)
• Moves towards Nakatra
• Heals her by double its remaining LP when its overhead bar is full
when overhead bar is full
Soulfire Waves and Summon Scarabs
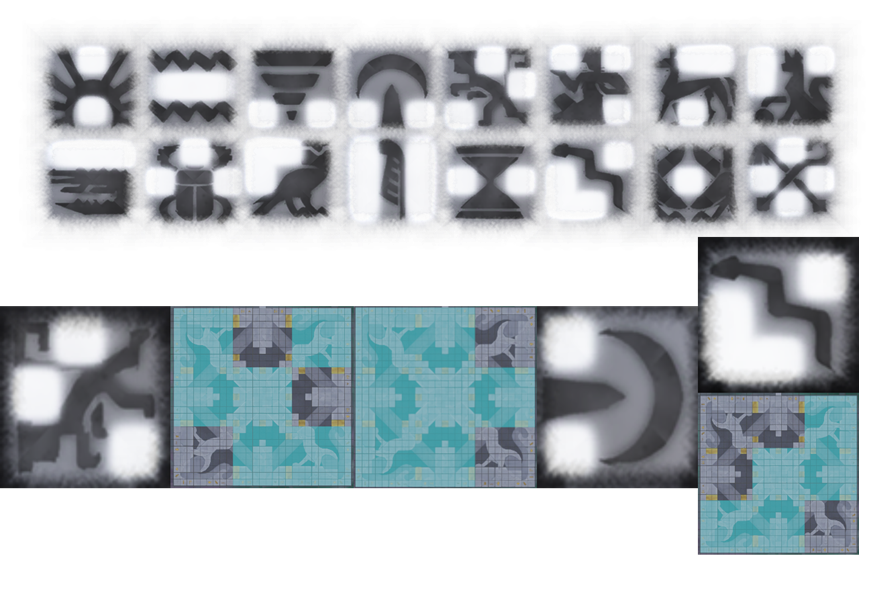
Sanctum Hieroglyphs
Nakatra shouts Feel the power beneath your feet! or Face judgement foul wretch. and she divides the arena in 3x3 sections, of which 3-8 sections are about to be blasted.
⬥ Locations are foretold by one of sixteen hieroglyphs on sides of the arena, up high. Picture them as they fall face down onto the arena. The sections that are safe are highlighted. See here for an overview of hieroglyphs and how they apply to the arena.
• First: west wall hieroglyph
• Second: east wall hieroglyph
• Third: north wall hieroglyph (P4 only)
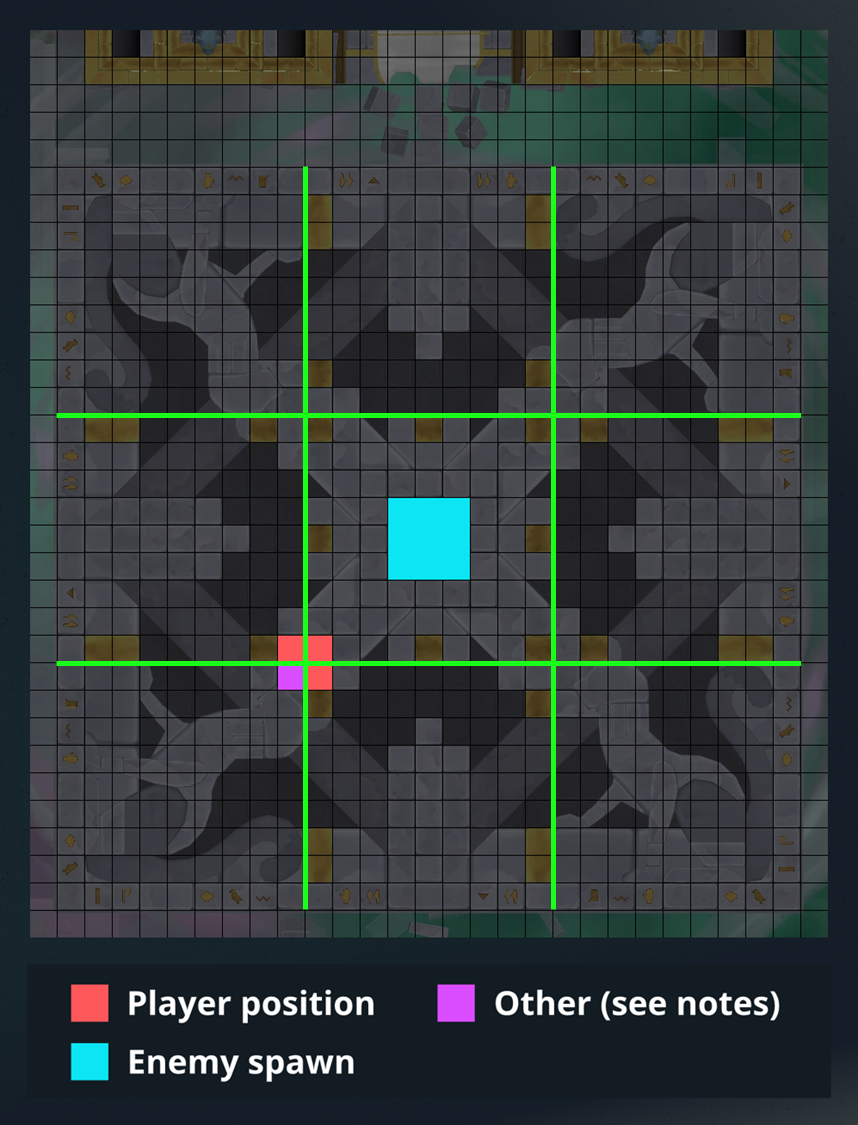
⬥ How to handle: Stand as shown in the picture. Northeast and Southwest are the best corners for Phases 1-2, Southwest corner is the best for phase 4. Stand on purple (other in the image) ready to . When the mechanic starts:
• One of the adjacent four red sections (42/48 chance) is safe to move onto, or
• The section diagonally across (6/48 chance) is safe: use or from purple to reach the other side. keep attacking Nakatra so you face her again
• Repeat as necessary.
⬥ If you don't get hit, your mobility ability's (  ) cooldowns is reset
⬥ Hits up to 8k hard typeless damage through defences, putting them on cooldown.
Summon Nefthys
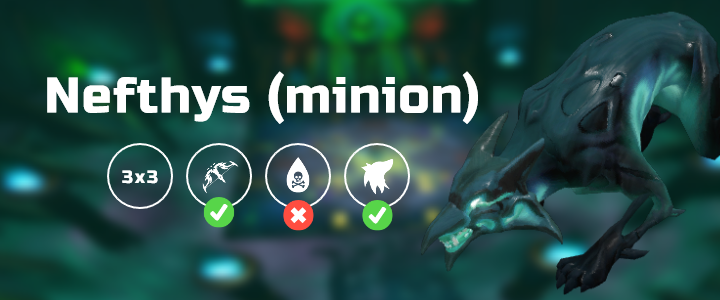 At the start of phase 3, Nakatra shouts
 Nefthys!; summons Nefthys, the Split Soul (90k LP); and becomes immune to all damage.
⬥ Two are summoned per player, at 75% adren.
⬥ Deals melee damage in halberd-distance
⬥ When you move out of halberd-distance Nefthys howls (blue bar fills up) he takes reduced damage, go halberd-distance to stop it and reset the bar.
• When the blue bar is full, Nakatra gains +50 stacks (line: RAAR!)
⬥ When their adren bar is full, the next attack disables protection prayers.
Heal Nefthys
Nakatra says Be healed! or Nefthys, be retored. and heals all Nefthys at once for 45k LP.
⬥ This occurs roughly every 22 seconds.
Soulfire Crosswave
Nakatra blasts the arena with an eight-pointed Soulfire crosswave from the centre while Nefthys are alive.
⬥ Nefthys and star wave video example
Shadowsands Devour
When all Nefthys are dead, Nakatra shouts Suffer the full power of the Sanctum! & The Devourer will consume you soul!, and you get dragged to the Shadowsands. Leave within 30 seconds or you get hard instakilled 
⬥ Release the Soul Storm in MD ( for the gorillas)
⬥ Kill the Shadowsands feline akh (22.5k LP, 2/player in solo)
⬥ Remember the two shown hieroglyphs next to the Devourer
• These are personal
• Four hieroglyphs if it's the fourth time being devoured
⬥ Recover the three soul fragments to go back
Back outside, Nakatra says Impossible... or WHAT ARE YOU & Your death is inevitable. Prepare for the incoming barrage.
⬥ Nakatra takes reduced damage for ~10 seconds and gains +50 stacks
⬥ How to handle: Step on the hieroglyph that was not shown in the shadowsands to block the barrage
• This is personal: Group members might have a different location!
⬥ If failed: The barrage deals heavy typeless and damage every 0.6 seconds for 1.8 seconds. Nakatra gains +10 stacks for each barrage hit.
• How to handle:  (
( only reduces damage)
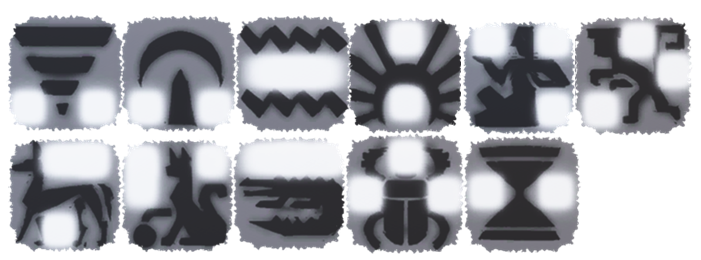 All possible shadowsands hieroglyphs
Sanctum Shockwave
As Nakatra shouts You cannot stop me!, concentric shockwaves spread from under her to the arena's edge.
⬥ This happens twice back-to-back
• You will also get 3 autos during this mechanic.
⬥ Each blast comes in four consecutive hard typeless hits: 4-3-3-3 squares, measured from Nakatra to the edge
• Breaks through defences and puts them on cooldown.
⬥ How to handle, two ways:
method (more forgiving)
Tilestep method (staying in  range)
Further Notes:
⬥ Nakatra deals a lot of high damage that (partially) ignore defensives. When learning, it might be helpful to use forms of damage mitigation that do work:
• Death ward relic 
• Aegis aura 
• Hellhound familiar 
• Powerburst of Vitality
• Spirit shields  as an emergency swap
⬥ P2 Scarab healers can heal Nakatra on P3. This 30k LP can be removed again to reach the cap HP.
⬥ P3 Nakatra is briefly fully damageable (~2 GCDs) after killing the last Nefthys, the moment her adren bar is full again.
• One can try to prephase with  and
and 
 to make P4 faster.
⬥ Shadowsands gorilla akh do not need to be killed, but if killed they do not reappear.
Example Kill
