Melee Raksha Guide

Introduction
This is an advanced guide which assumes a strong underlying knowledge of all mechanics and information presented in #raksha-basic.
Method 1

Notes:
⬥ Do not use  as it may interfere with
  /
/ 
Pre-fight
War's Retreat
→ 

Instance
 → (4t)
  +
+  → (4t)
Phase 1
 +
+  →
→  →
→  →
→  →
→  →
→ 
Phase 2
 → + →
→ + →  →
→  →
→ 

Phase 3
→ →  →
→  + +
+ +  → →
→ →
Phase 4
 → + →
→ + →  →
→ 
 → →
→ →  → →
→ →  → s → → → → → → + → →
  →
→
Note: On slower P4 entry, you may need to skip , in which case do the following after
→ → → → → + →  → →
→ →
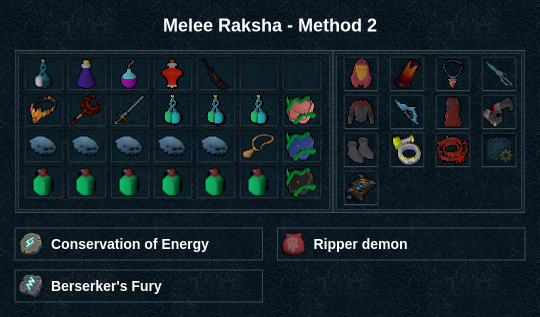
Method 2
This method is slightly more consistent, but requires pre-building on a dummy 
Pre-fight
War's Retreat
+ → s
Instance
→ r → → → to boss → → →  to melee distance → s
Phase 1
(tc)  + + r + → →
  → →
→ →
Phase 2
→ → → →
Phase 3
→ →  → →
→ →
Phase 4
 → → → → → → →
  → → → → → → → → →
Example Kills