Vorago Combat Achievements
Introduction
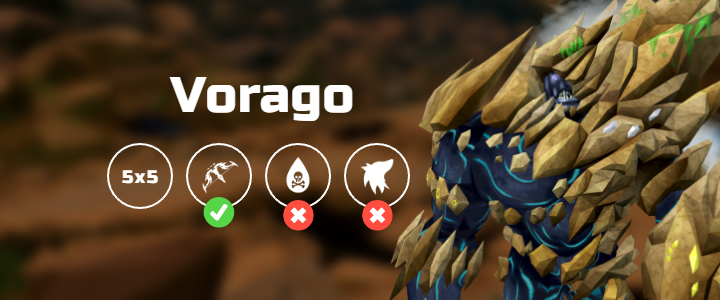
This guide will go over how to complete the Grandmaster Speed Killer Combat Achievement for Normal Mode Vorago.
Vorago-Specific Tricks/Skips
This section will cover the different tricks and skips specific to the Vorago fight that are necessary in order to achieve the GM timer.
TC Timing:
Solo Lure:
Accel-Pot Climb:
Clone Skip:
Bleeds Skip:
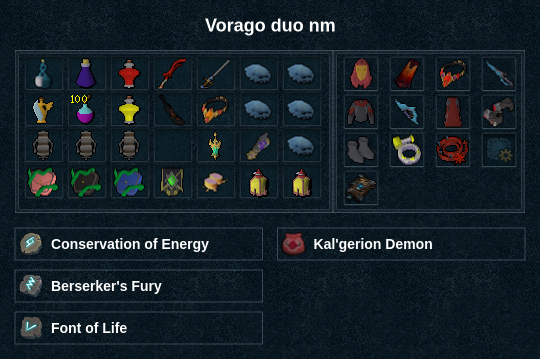
Presets and Relics
Vorago Grandmaster Speed Killer
Phase 1
Base:
drop  → challenge + r
 +
+  →
→  →
→  →
→  → → →
→ → →  →
→  + (1t)
  →
→  → TC +
  +
+  →
→  → s
→ s +
+  to MD → TC + r +
  → →
→ →  →
→ 
 + Solo Lure → use strong basics to lower to under 20k HP → (after jump)
Note: Be careful to not reset his HP
Bomb Tank:
drop on P1 drop + → 3 basics while walking to first rock, then climb with  → +
→ +  +
+  to jump spot → TC + +
  +
+
OR
after challenge,  →
→  → →
→ →  → , climb with → TC +
  +
+ 
Phase 2
⬥  early in the phase
⬥ Lower to less than 40k HP before Bring Him Down
⬥ Bomb Tank drop during Bring Him Down
After Bring Him Down:
→ → → → →  → → TC + → → → → → → →
Phase 3
⬥ Base drop
⬥ Spam keybind in case you get  procs
procs
⬥ Use on dummy at end of phase for P4 entry 
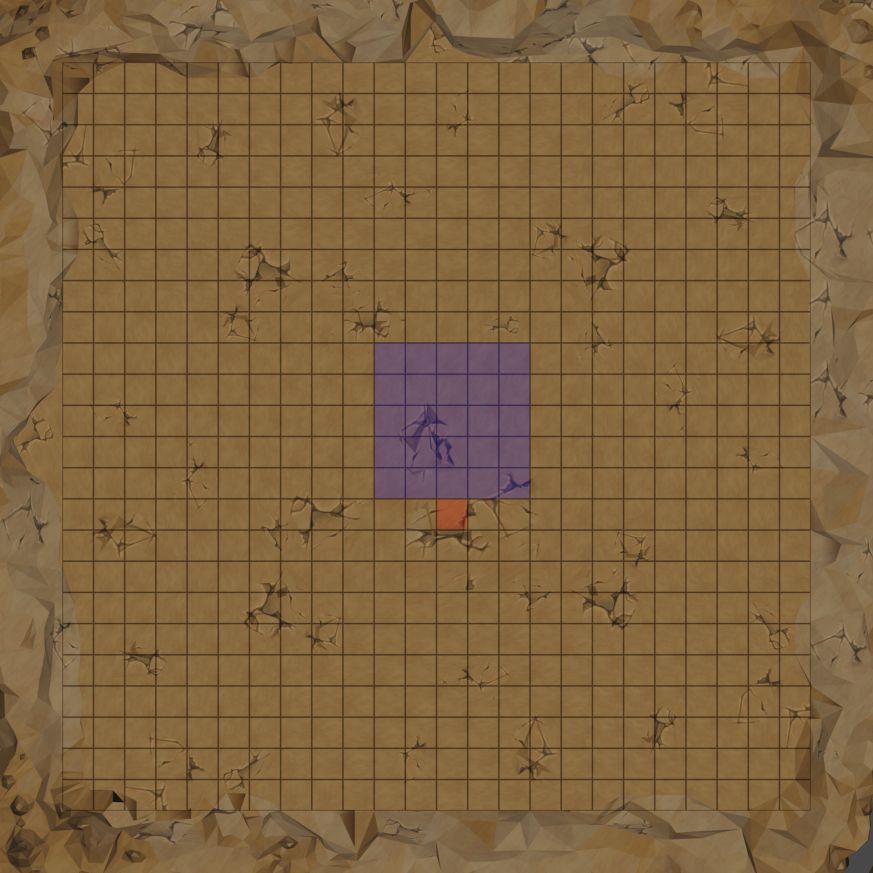 ⬥ Blue is Vorago's position, red is MD tile
4t Rotation:
→ TC + → → + → s → TC + r + + equip  + →
+ →
Note: If it doesn't kill use 
Phase 4
TC + on drop
⬥ If there is a middle ceilings rock, you need to use  for entry
⬥ Stack throughout the phase, → when available
⬥ Do NOT use for last , need it off cooldown for P5
⬥ Base does Clone Skip and Bleeds Skip
⬥ Use to tank the 3rd Waterfall
During 3rd Waterfall:
Bomb Tank: drop when reflect starts
Base + Bomb Tank: When waterfall starts, → → → spam click  and spam
→ build to 120% adrenaline
Phase 5
Base:
→ → TC + → + + pre-throw  → s → TC + r +
  → →
→ →
Bomb Tank:
→ → TC + → + → s → TC + r + → →